My Store Credit
 Buy Again
Tape-in Hair Extensions: A Guide for Beginners
- Sam Conan
- Tape-in Extensions Blog
- Mar 20, 2024
- Reading time: 29 minutes

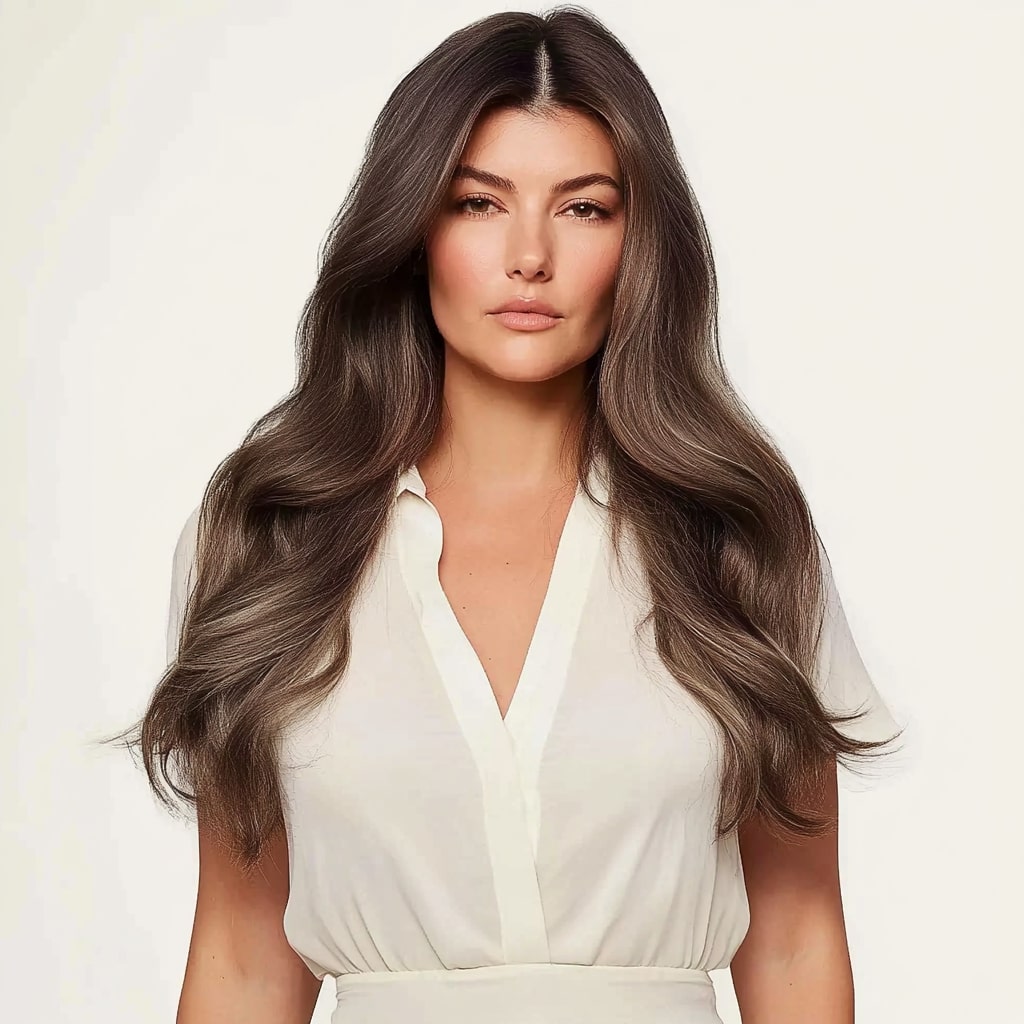
Tape-In Hair Extensions Overview
Hello and welcome to the exciting world of tape-in hair extensions!
I'm Sam Conan, CEO of CanadaHair.ca, and a fervent believer in the transformative power and confidence boost that our hair extensions can deliver.
Today, we're diving into the realm of tape-in extensions, a revolutionary product in the hairstyling industry that has significantly altered the way people enhance their appearance, adding volume, length, or a pop of color without a long-term commitment.
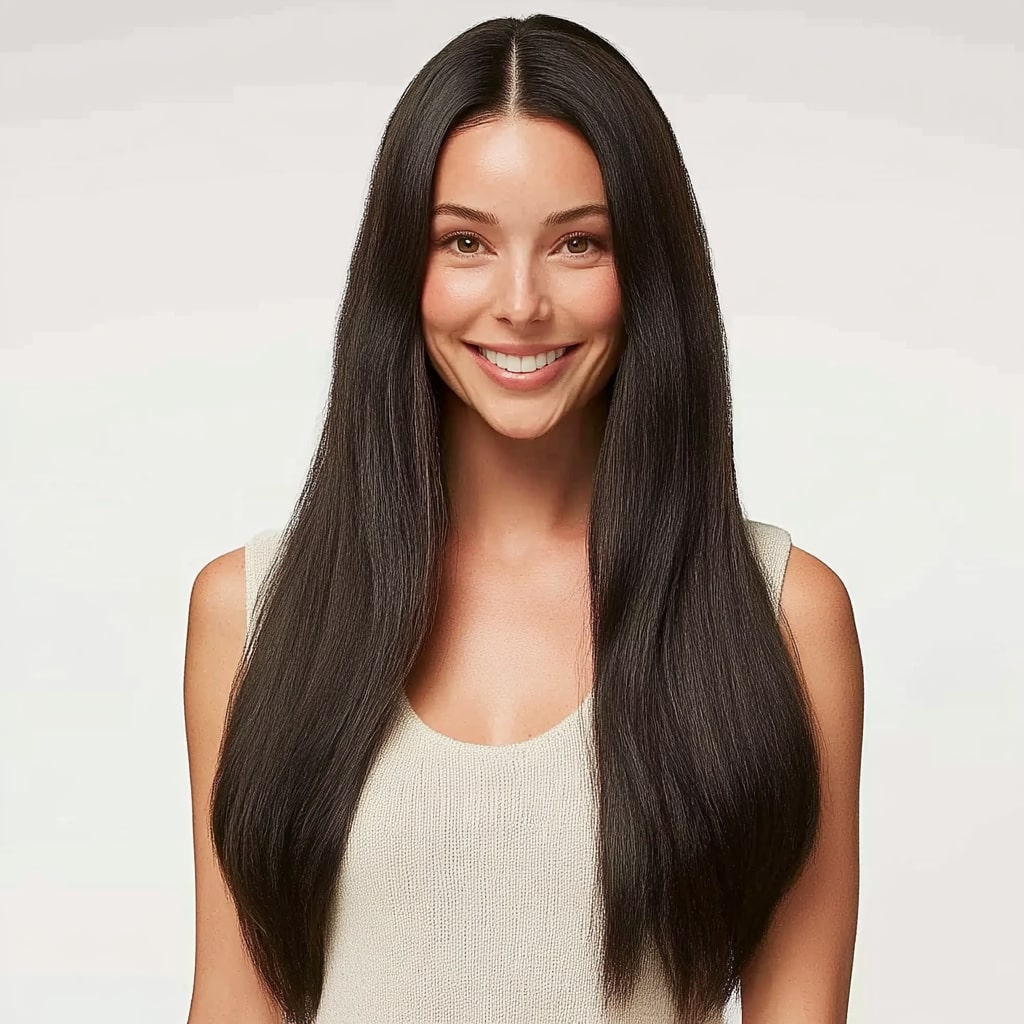
Tape-in hair extensions are, as the name suggests, high-quality, real hair sections that are attached to your own hair using a specially formulated adhesive tape. They stand out from other types of hair extensions due to their ease of application, lasting wear, and the flawless, natural integration they provide. This method is celebrated by both hairstylists and clients for its straightforward application and beautiful, lifelike outcomes.
Maintenance is indeed a breeze. With attentive care, tape-in hair extensions can maintain their appeal from four to eight weeks, after which they can be effortlessly adjusted or renewed. This resilience ensures your enhancement not only lasts but also remains a cost-effective addition to your style.
Yet, the real value of tape-in hair extensions transcends mere practicality: it's the boost in confidence they provide. The impact of the perfect hairstyle on one's self-assurance is profound. It's more than an outward transformation—it's about the inner empowerment it fosters. Leading CanadaHair.ca has allowed me to witness firsthand the happiness and newfound confidence our customers gain from their hair transformations.
Opting for tape-in extensions is a thrilling venture, and our team is dedicated to supporting you at every phase. We're committed to making your journey as smooth and fulfilling as the stunning reflection you'll soon admire. Together, we'll embark on this transformative path, enhancing not just your hair but your self-perception.
In the sections that follow, we'll explore everything from initial preparation and the application process to styling tips, maintenance advice, and solving typical challenges. Our aim is to arm you with the comprehensive insight needed to fully enjoy your tape-in extensions. Welcome to the journey towards realizing your hair aspirations.
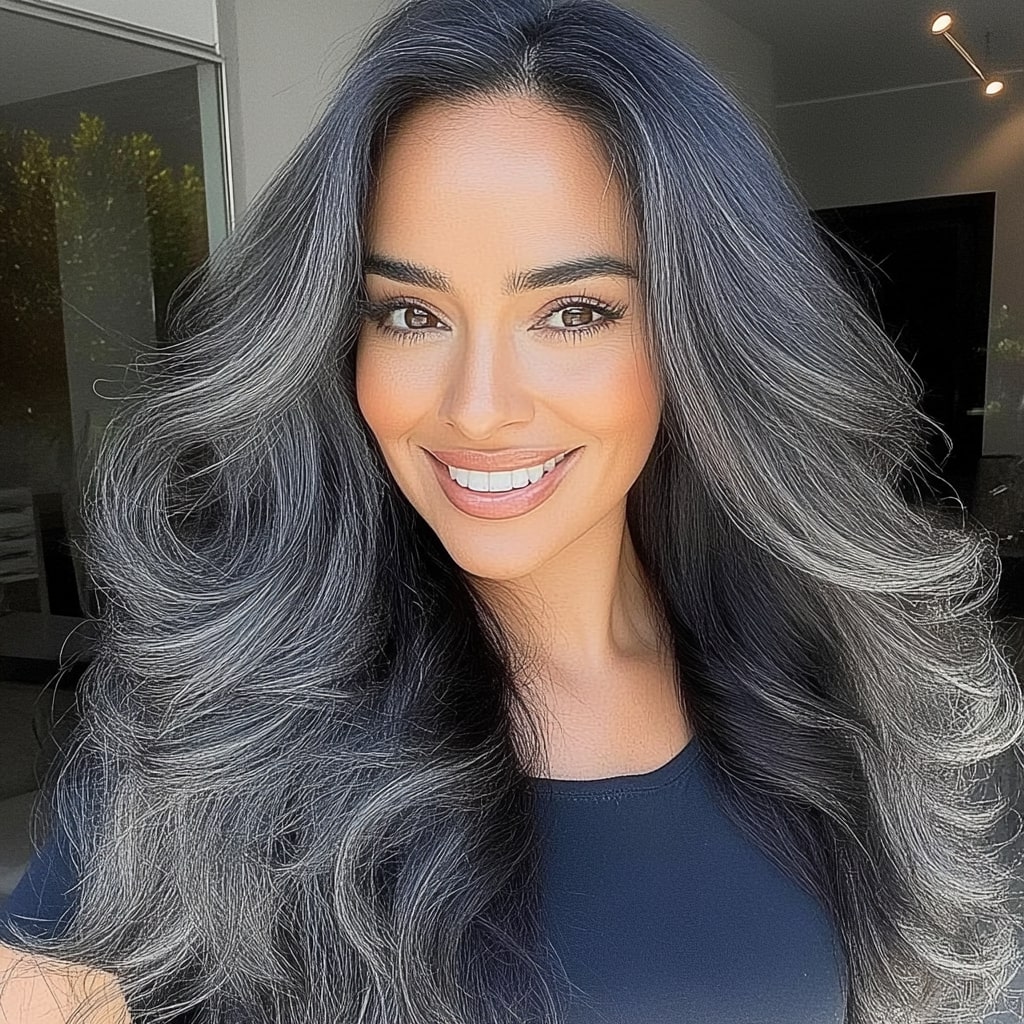
- Seamless Match: Tape-in hair extensions merge flawlessly with your own hair, offering an invisible, natural-looking enhancement.
- Efficient Application: Installation is swift, typically completed within an hour, making it a convenient choice over more labor-intensive alternatives.
- Gentle on Hair: These extensions are kinder to your natural locks, avoiding the need for heat, beads, or threads for attachment.
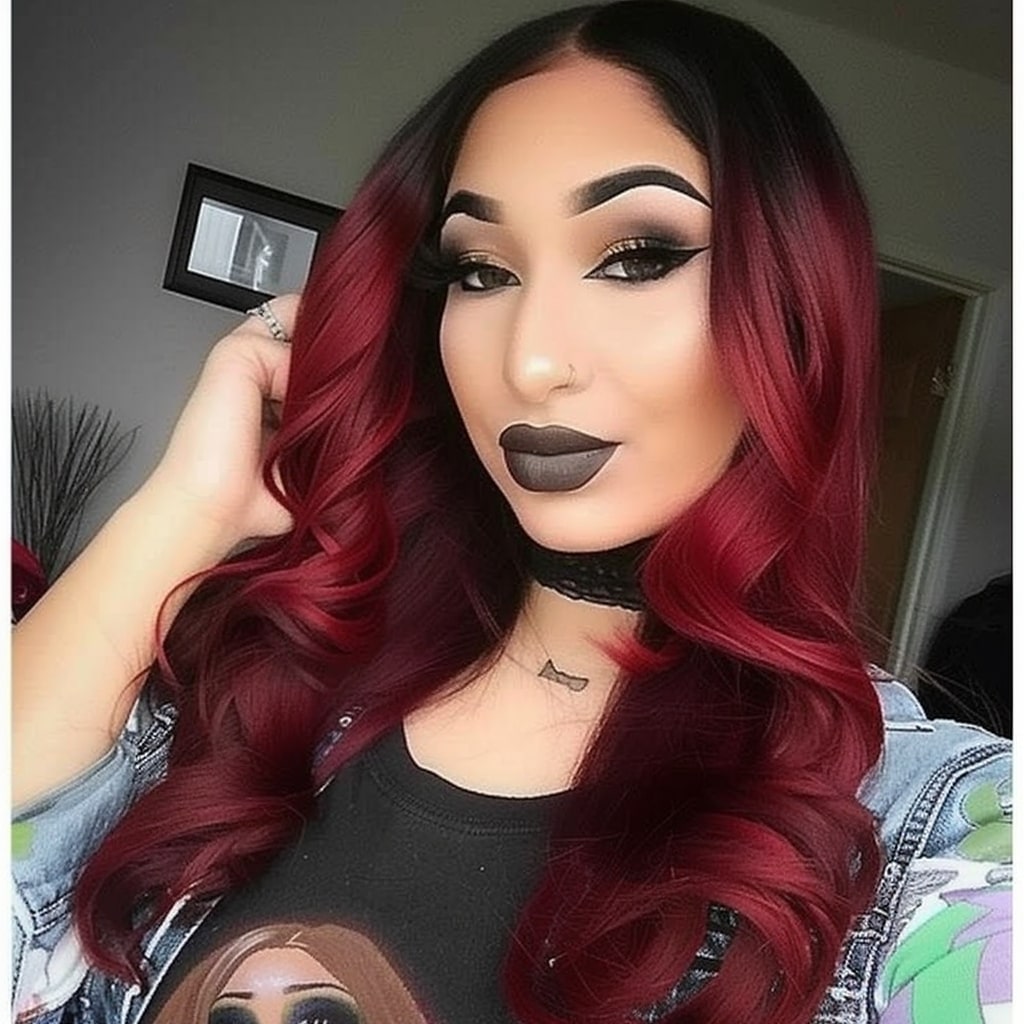
- Flexible Styling: With the ability to style, dye, and apply heat, tape-in extensions offer diverse styling possibilities.
- Comfort for Daily Use: Their lightweight nature and flat application make them comfortable for everyday wear, including sleep.
- Durable Solution: Proper maintenance ensures these extensions last from 4 to 8 weeks before reapplication is needed, providing a long-lasting hair enhancement.
- Economically Reusable: High-quality tape-in extensions can be reapplied multiple times, offering an economical long-term styling solution.
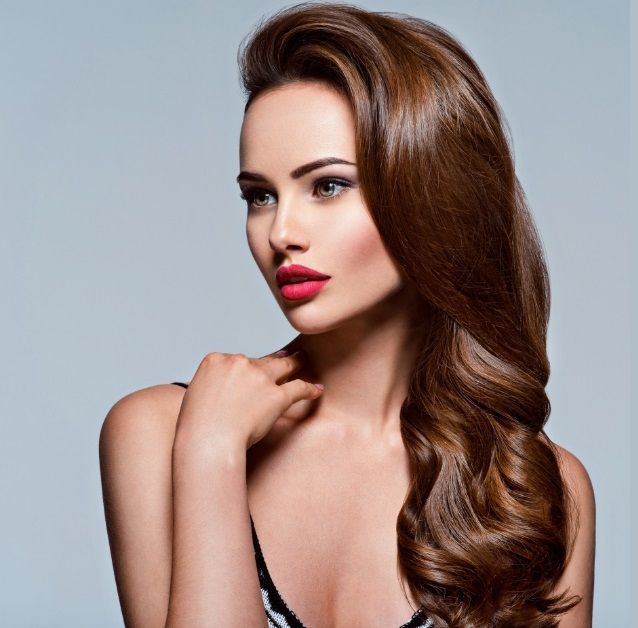
- Instant Volume and Length: They instantly boost volume and length, elevating your look and self-confidence.
- Easy Upkeep: Tape-ins require less upkeep compared to other extension types, needing just gentle care and routine brushing.
- Ideal for Fine Hair: Especially beneficial for those with thin or fine hair, the application is gentle, and the bonds remain concealed with ease.
Preparation for Tape-In Hair Extensions
Embarking on the tape-in hair extension journey enhances your natural allure, starting with thorough preparation. This groundwork is vital for a smooth application and to extend the life of your extensions. I, Sam Conan, will walk you through the crucial preparation steps for this transformative process.
Necessary Tools and Supplies
Before beginning the application, ensure you have all required tools and materials ready. Here's a checklist to get started:
- Tape-in Hair Extensions: Opt for premium extensions that complement your hair’s color and texture for a seamless integration.
- Sectioning Clips: These aid in accurately sectioning your hair throughout the application.
- Tail Comb: Perfect for precise sectioning and smoothing strands before affixing the extensions.
- Hair Extension Tape Remover: Essential for safely adjusting or removing the extensions without harming your hair.
- Rubbing Alcohol and a Clean Cloth: For cleaning your natural hair and the extensions to ensure a strong bond.
Selecting the Right Hair Extensions
Picking the correct tape-in extensions is crucial for achieving the look you desire. Keep these considerations in mind when selecting:
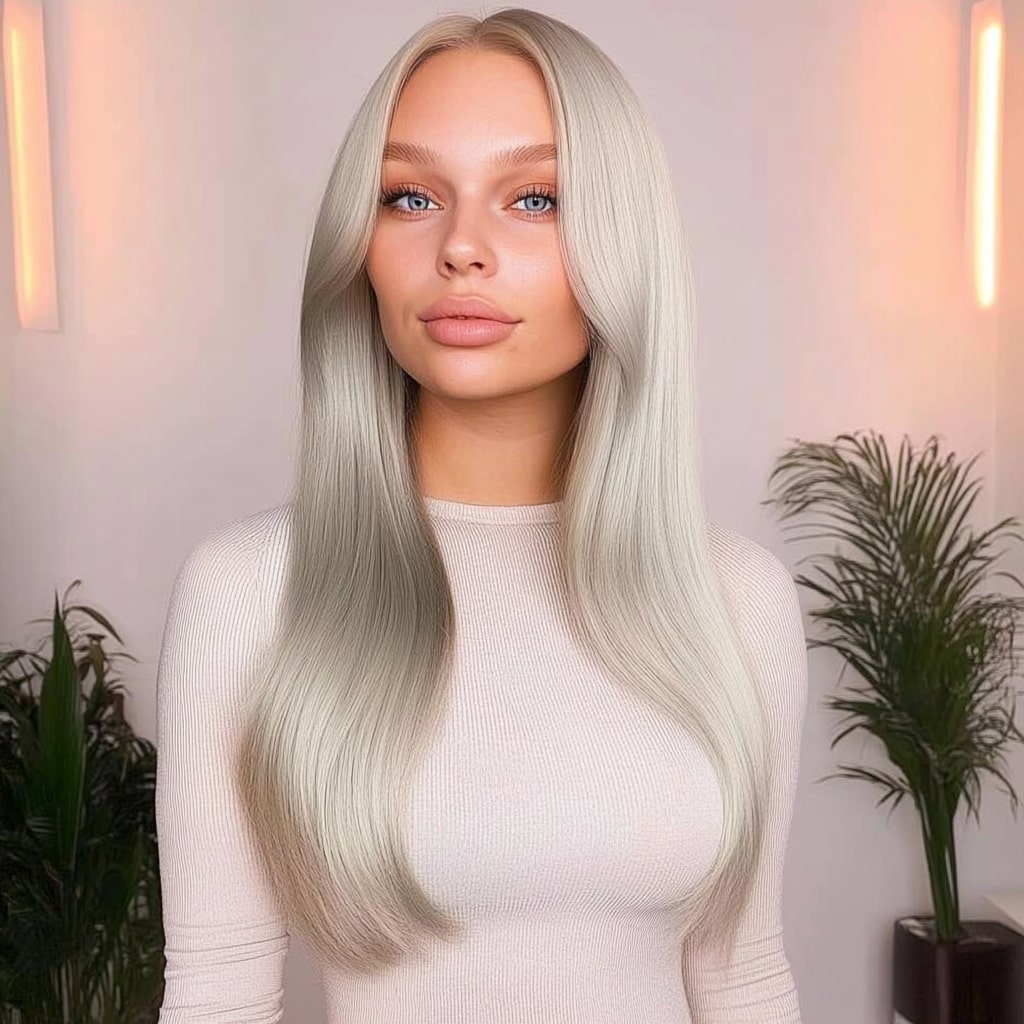
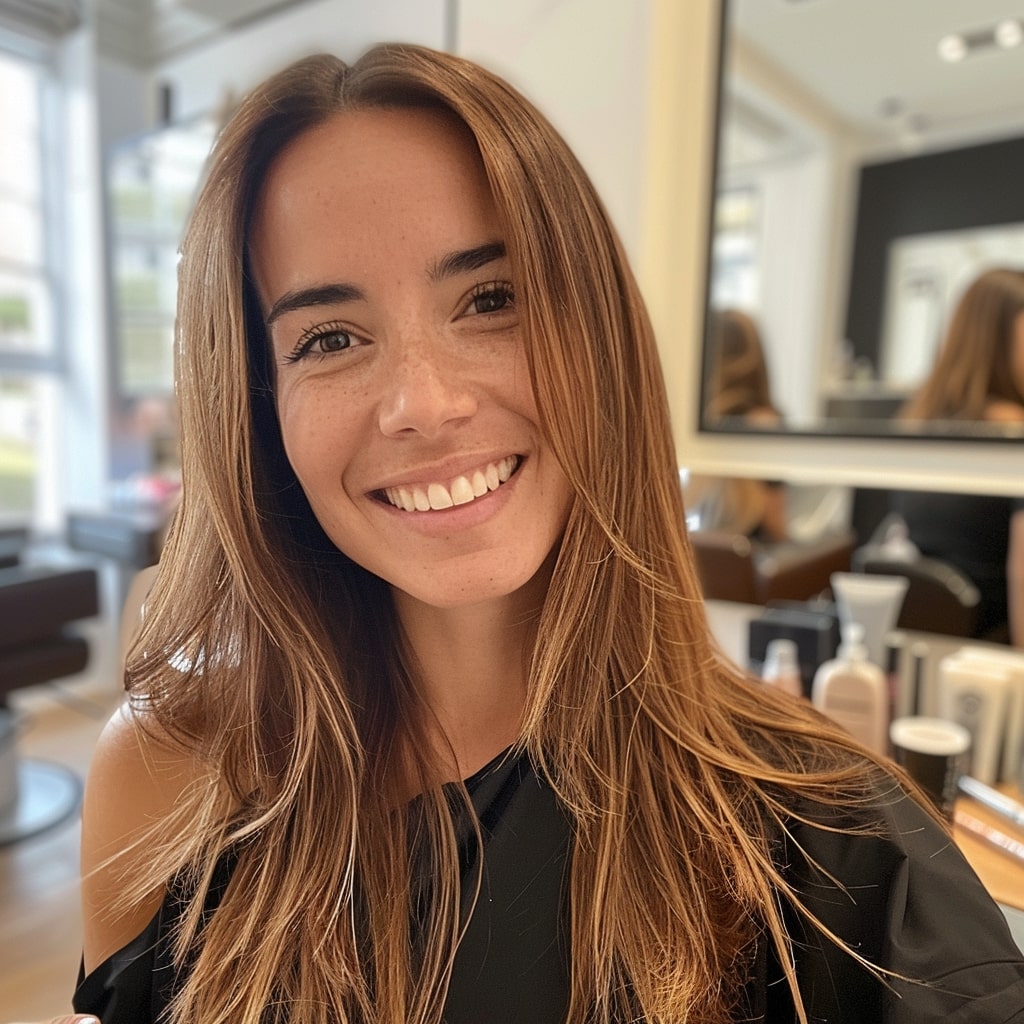
- Color Match: Ensure your extensions flawlessly blend with your natural hair. We offer a wide color selection and can assist in finding the perfect match.
- Texture Compatibility: Match the extensions to your natural hair's texture, whether it's straight, wavy, or curly, to ensure a natural look.
- Desired Length and Volume: Determine if your goal is to add length, volume, or both, as this will influence the type of extensions you select.
Preparing Your Natural Hair
The way you prepare your hair is as vital as the extension quality. Follow these steps for optimal preparation:
- Clarify Your Hair: Start with a clarifying shampoo to eliminate residue, oils, or any build-up. This is essential for the tape to adhere correctly.
- Condition With Care: Use conditioner on the ends only, avoiding the roots where the extensions will be placed.
- Dry and Straighten: Ensure your hair is fully dry and straightened with a flat iron. This facilitates a smoother application process and helps the tape bond securely.
- Skip Styling Products: After washing, don't apply any hair products. Your hair should be as clean and product-free as possible for the extensions to adhere well.
Diligently preparing lays the groundwork for a smooth and efficient application process, ensuring your tape-in extensions blend naturally and remain secure. This preparation phase is more than just a step towards enhancing your appearance; it's about boosting your confidence through the beauty and vitality of your hair.
As we progress, remember the importance of these preparation tips. They mark the beginning of a rewarding journey with hair extensions, setting you up for success and satisfaction.
In the forthcoming section, we'll explore the technique of sectioning your hair, a critical precursor to achieving a flawless application. This step is crucial in our shared journey towards not only transforming your hair but also elevating your confidence and overall perspective. Let's move forward with enthusiasm, looking forward to the beautiful changes that lie ahead.
Sectioning Your Hair for Tape-In Extensions
Embarking on your tape-in extension journey is not just about enthusiasm; it requires precision and meticulousness, particularly in hair sectioning. This stage is vital for a natural appearance, ensuring your extensions integrate flawlessly with your hair. As we continue our transformative adventure, I, Sam Conan, am here to navigate you through the art of hair sectioning, laying the groundwork for a perfect extension fit.
The Significance of Accurate Sectioning
Accurate sectioning forms the backbone of a successful tape-in extension application, achieving an even distribution across your scalp for a balanced, authentic look. Proper sectioning also hides the extensions effectively and maintains your natural hair's health by preventing undue stress.
Essential Tools for Sectioning
Before starting, ensure you have the necessary tools:
- Sectioning clips: Crucial for securing sections of your hair as you work.
- Tail comb: Essential for making precise, neat sections.
Guided Steps for Sectioning Your Hair
-
Begin with clean, dry hair: Following the prep advice given earlier, ensure your hair is devoid of any residues, completely dry, and straightened.
-
Make a horizontal part at the nape: With your tail comb, part your hair around an inch above the nape of your neck. Clip up the remaining hair, leaving this bottom section free. This is where the first set of extensions will be placed.
-
Select a thin hair strip: For extensions to look natural, they must be attached to thin hair strips, no thicker than the extension itself, to secure a strong bond.
-
Maintain straight lines: Keeping sections straight aids in the uniform application and simplifies the removal process.
-
Apply vertical sections to the sides: After the back, proceed with vertical sections on the sides, from the bottom upwards, to ensure the extensions align snugly against your scalp.
-
Preserve a natural hair perimeter: Leave a small boundary of your natural hair around your face, ears, and neck free of extensions to hide the tape effectively and make the extensions invisible.
-
Utilize your mirror: Frequently check the arrangement of your sections with a hand mirror to avoid any unevenness or misalignment in the application.
Sectioning Pro Tips
- Don't rush: Speeding through the sectioning might result in irregular sections and visible extensions. Patience is crucial.
- Strive for consistency: Aim for uniform section sizes for an even distribution of extensions, enhancing both volume and length harmoniously.
- Ask for assistance: If it's challenging to see or reach certain spots, getting help from a friend is advisable for ensuring the extensions are applied evenly.
Proper sectioning sets the stage for a beautiful, natural-looking mane of tape-in extensions. As we move forward, remember that this process, like any art form, takes practice and patience. With each step, you're not just transforming your hair; you're crafting a new expression of your unique beauty and style. In the next part of our guide, we'll delve into the application process itself, where your preparation and sectioning efforts will come to fruition. Let's continue this journey with confidence and excitement for the stunning transformation ahead.
Application Process for Tape-In Hair Extensions
Now that we’ve meticulously prepared and sectioned your hair, it’s time to embark on the most exciting phase of our journey: applying the tape-in hair extensions. This step, when done correctly, transforms your hair into a fuller, longer, and more vibrant mane. As your guide, I, Sam Conan, will walk you through the application process, ensuring you achieve professional-looking results from the comfort of your home. Let’s dive into the detailed, step-by-step guide to applying your tape-in extensions.
Preparing the Extensions
First, ensure your extensions are prepared and laid out in an easily accessible manner. Each extension should be paired with its matching piece, as most applications involve sandwiching a section of your natural hair between two tape-in pieces. Gently remove any protective covering from the tape section of the first extension piece you’ll be using.
Attaching the Tape-In Extensions
-
Select the first section: Begin at the nape of your neck, working with the lowest section you created during the sectioning phase. Take a thin slice of your natural hair with your tail comb, ensuring it’s no thicker than the tape of the extension.
-
Apply the first piece: Place the first piece of the extension tape under the selected slice of your natural hair, approximately a quarter inch from the roots. This ensures comfort and allows for natural hair growth movement without pulling or discomfort.
-
Seal the deal: Once the first piece is in place, take the corresponding piece of the extension and align it directly on top of the first piece, effectively sandwiching your natural hair between the two. Press firmly along the tape for about 10 seconds to secure the bond.
-
Repeat the process: Move on to the next section, leaving a small space between each extension to allow your natural hair to move freely. Continue this process, working your way up the head, ensuring you maintain a uniform distance from the roots and consistent spacing between extensions.
Ensuring Secure Attachment
-
Check the bonds: After all the extensions are in place, gently tug on them to ensure they are securely attached. If any feel loose, press down again for an additional 10 seconds.
-
Avoid washing immediately: Wait at least 48 hours before washing your hair to allow the adhesive to fully bond to your natural hair.
-
Brush gently: Use a soft bristle brush and start brushing from the ends of your hair, working your way up to the roots. This prevents any tugging on the extensions that might weaken the bond.
Tips for a Smooth Application
- Precision is key: Ensure that the tape is applied evenly and that there are no wrinkles in the tape. This not only helps with the longevity of the extensions but also with their overall appearance.
- Keep sections clean: Make sure no stray hairs are caught under the tape as this can cause discomfort and potentially weaken the bond.
- Temperature matters: Avoid using high heat directly on the bonds when styling your hair. This can cause the adhesive to weaken or become tacky.
The application of tape-in hair extensions, while detailed, is an incredibly rewarding process. With each section completed, you’re not just adding length and volume; you’re crafting a look that speaks to your personal style and confidence. Remember, the goal here is not just transformation but empowerment—empowering you to feel your best and most beautiful self.
As we move forward in our guide, the next sections will focus on blending, styling, and the essential maintenance to keep your new locks looking flawless. With patience, care, and a bit of practice, you’ll find that tape-in extensions are a fantastic way to enhance your natural beauty and express your unique style. Let’s continue this journey with anticipation for the stunning results that await.
Blending and Styling Tape-In Hair Extensions
Congratulations on successfully applying your tape-in hair extensions! With your new length and volume in place, it's time to move into an equally crucial phase: blending and styling your extensions to achieve a seamless, natural look. I, Sam Conan, am here to share expert tips and techniques to ensure your extensions not only complement but enhance your natural beauty. Let’s explore how to blend and style your extensions for the most flattering finish.
Cutting and Blending the Extensions
-
Consult a professional stylist: If possible, consider visiting a professional stylist for the initial cut. They can skillfully blend your extensions with your natural hair, ensuring a seamless transition between the two. If visiting a stylist isn’t an option, proceed with caution and follow these tips.
-
Use the point-cutting technique: Instead of cutting straight across, use the point-cutting technique to create a more natural look. This involves snipping into the ends vertically, which helps the extensions blend more effortlessly with your natural hair.
-
Layer strategically: If your natural hair is significantly shorter than your extensions, adding layers can help create a smoother transition. Focus on the layers around your face to frame it beautifully and blend any noticeable length differences.
Styling Tips for a Natural Look
-
Heat styling: You can use heat styling tools on your tape-in extensions just as you would with your natural hair, especially if they're made of human hair. However, always apply a heat protectant spray beforehand to prevent damage. When styling, try to create waves or curls that blend the extensions with your natural hair texture.
-
Avoid high heat on tape areas: When using heat styling tools, be cautious around the bonds. Excessive heat can melt or weaken the adhesive, causing the extensions to slip or come out prematurely.
-
Use the right products: Lightweight styling products are best for extensions. Heavy oils or silicone-based products can cause the tapes to slip. Opt for volumizing mousses or sprays to maintain a natural look without weighing down your hair.
-
Embrace updos and braids: Tape-in extensions offer great versatility in styling. Updos, ponytails, and braids not only look stunning but can also conceal the tape sections effectively, especially if you're still getting used to styling your new length. Just ensure not to pull too tightly to avoid putting stress on the bonds.
Maintenance Tips for Styled Extensions
-
Gentle brushing: Use a soft bristle brush and carefully brush your hair at least twice a day to prevent tangling. Start from the ends and work your way up to the roots to minimize pulling on the tapes.
-
Wash with care: When washing your hair, use a sulfate-free shampoo and concentrate on cleansing the scalp. Gently massage rather than rub the hair, and avoid conditioning the roots to keep the tapes secure.
-
Nighttime care: Before going to bed, braid your hair loosely or tie it in a soft ponytail to prevent tangling while you sleep. Consider using a silk pillowcase to reduce friction.
Blending and styling your tape-in extensions are where the magic truly happens, transforming them from an addition to your hair into a part of your very essence. This phase allows you to express your personal style and embrace the full potential of your new, voluminous locks. Remember, the goal is not only to look beautiful but to feel confident and empowered in your daily life.
As we move forward, we’ll delve into the crucial aspects of maintenance and care, ensuring your extensions remain as gorgeous as the day they were applied. Stay tuned for more insights on how to cherish and prolong the life of your stunning new hair.
Maintenance and Care for Tape-In Hair Extensions
The journey through selecting, applying, and styling your tape-in extensions has brought us to a pivotal point: ensuring the longevity and beauty of your new locks through proper maintenance and care. I'm Sam Conan, here to guide you through the essential practices that will keep your extensions looking as fresh and vibrant as the day they were applied. Let's delve into the key aspects of maintaining your tape-in hair extensions, ensuring they continue to enhance your beauty and confidence.
Daily Maintenance Tips
-
Gentle brushing: Regular, gentle brushing is vital to prevent tangling and matting. Use a soft bristle brush or a special extension brush and start from the ends, gradually working your way up to the roots. Be careful around the tape areas to avoid loosening the bonds.
-
Avoid tugging or pulling: When brushing or styling your hair, always support the roots with your other hand to minimize stress on the tape bonds.
Washing and Conditioning
-
Frequency: Wash your extensions two to three times a week at most. Over-washing can lead to slipping of the tape-ins due to the adhesive breaking down over time.
-
Technique: Use a gentle, sulfate-free shampoo. When washing, don’t scrub aggressively. Apply shampoo by gently massaging the scalp and let the suds run down the lengths of your extensions. Condition only the mid-lengths to ends, avoiding the tape bonds to prevent slipping.
-
Drying: Pat your hair gently with a towel and avoid rubbing. Air-drying is ideal, but if you use a blow dryer, apply it on a low heat setting and dry the tape areas first to "re-seal" the adhesive.
Sleeping and Exercise Recommendations
-
Protect your hair at night: Tie your hair in a loose braid or ponytail to prevent tangling while you sleep. Consider using a silk pillowcase to reduce friction and prevent matting.
-
Exercise: During physical activities, wear your hair in a loose ponytail or braid to minimize sweating around the tape areas. After exercising, let your scalp dry completely before brushing. If you sweat excessively, a light rinse with cold water can help remove salt buildup without the need for a full wash.
Exposure to Elements
-
Sun and chlorine: Prolonged exposure to sunlight and chlorinated water can damage your extensions and weaken the adhesive tape. Wear a hat or tie your hair up and try to keep it dry when swimming in chlorinated pools, salt water, or when exposed to strong sunlight for extended periods.
-
Heat styling: Use heat protectant sprays and avoid high temperatures, especially near the tape bonds. Continuous heat application can weaken the adhesive, leading to slippage.
Professional Upkeep
-
Regular salon visits: Schedule appointments every 6-8 weeks for your stylist to check the integrity of the tape bonds, perform any necessary maintenance, and adjust the extensions as your natural hair grows. This is also an opportunity to address any concerns and plan for future adjustments or replacements.
-
Reapplication: Depending on your hair growth and the care of the extensions, tape-in extensions can be reused 1-3 times. Your stylist can remove, re-tape, and reapply them, ensuring your investment continues to provide value and beauty.
Maintaining your tape-in hair extensions requires a balance of diligent care and professional upkeep. By following these guidelines, you can enjoy the full benefits of your extensions, keeping them looking beautiful and healthy for as long as possible. Remember, the effort you put into maintaining your extensions reflects not just in your hair’s appearance but in your overall confidence and satisfaction. As we journey through the world of tape-in extensions together, always know that your commitment to care is key to sustaining the stunning results you deserve.
Troubleshooting Common Issues with Tape-In Hair Extensions
Even with meticulous application and dedicated care, you might encounter some common issues with your tape-in hair extensions. Fear not, for these challenges are often easily remedied. I'm Sam Conan, here to guide you through troubleshooting these concerns, ensuring your tape-in extensions continue to look their best. Let’s explore solutions to some of the most common issues you may face.
Dealing with Slippage
Slippage is when tape-in extensions begin to fall out or slide down the hair shaft. This can be due to several factors, including improper application, too much conditioner or oil at the roots, or natural hair growth.
- Solution: If only a few extensions are slipping, you can remove them and clean both your natural hair and the extension. Then, apply new tape and reattach. If slippage is widespread, consult your stylist for a professional reapplication.
Removing Tangles and Mats
Tangles and mats can occur if the extensions aren’t brushed regularly or properly. Sleeping with loose hair or not braiding your hair during physical activities can also contribute to this issue.
- Solution: To detangle, start at the ends of your hair and gently work your way up to the roots with a soft bristle brush or a special extension brush. Use a detangling spray or leave-in conditioner to ease the process. If matting is severe, seek help from a professional to avoid damaging your hair and extensions.
When to Replace Your Extensions
Tape-in extensions have a lifespan, which can vary based on care, hair growth, and the quality of the extensions. Over time, they may become dry, frayed, or the color may fade.
- Solution: Regularly assess the condition of your extensions. If they start to look significantly worn or if the texture changes, it’s time to consider replacing them. Your stylist can help you determine when it’s time for a new set.
Itchy Scalp
An itchy scalp can occur if the extensions are applied too close to the scalp, preventing natural movement and causing irritation. Build-up from products or not rinsing thoroughly when washing can also cause itchiness.
- Solution: Ensure extensions are applied at least a quarter inch from the scalp to allow for natural hair movement. Use a gentle, clarifying shampoo to prevent build-up and thoroughly rinse after washing. If itchiness persists, consult with your stylist to adjust the placement of the extensions.
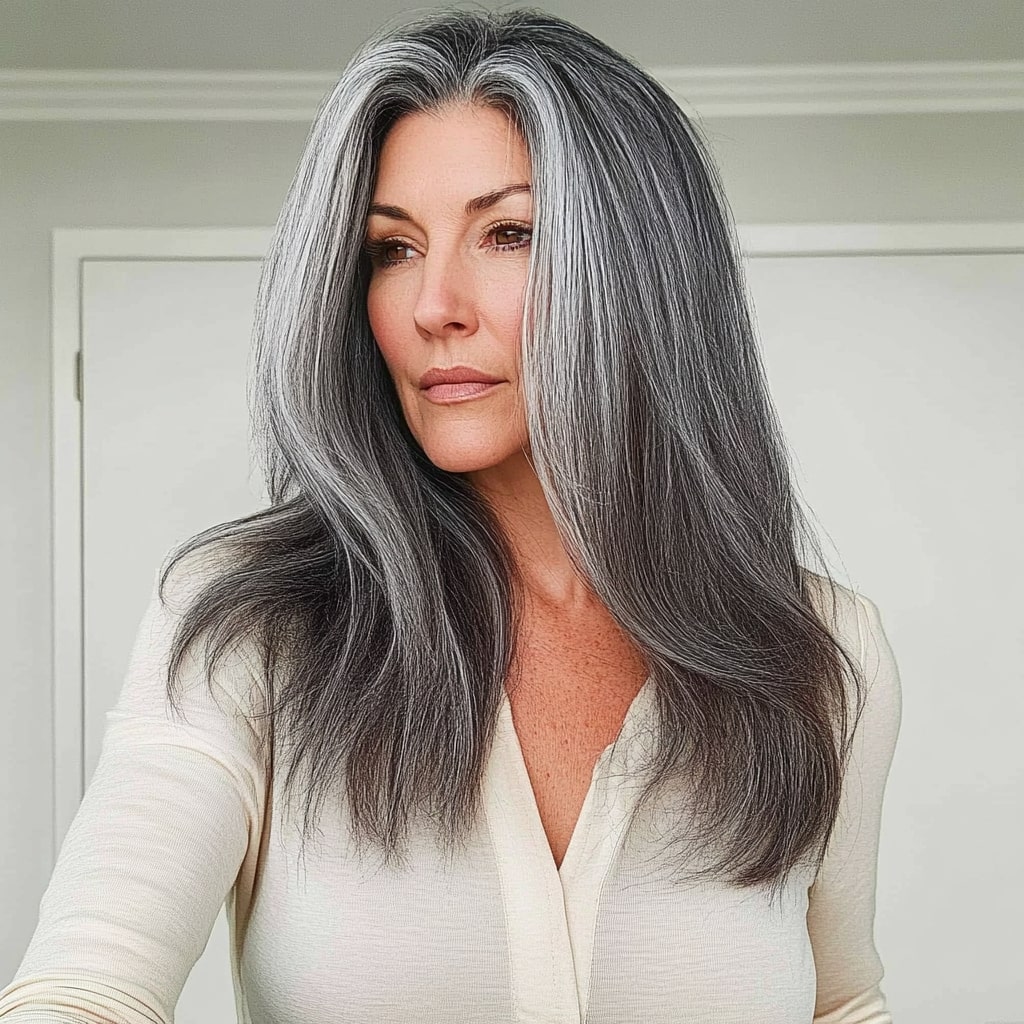
Color Mismatch After Hair Growth
As your natural hair grows, there may be a noticeable color difference between your roots and the extensions, especially if your natural hair is dyed.
- Solution: Schedule regular touch-ups for your natural hair to match the extensions. Alternatively, consider getting extensions that match your roots and blend them with a balayage or ombre technique for a more seamless transition.
Adhesive Residue
Sometimes, after removing tape-in extensions, you might find adhesive residue in your hair.
- Solution: Use a product specifically designed to remove tape-in extension adhesive. Apply it to the affected areas, let it sit for the recommended time, then gently comb out the residue. Wash your hair with a clarifying shampoo afterward.
Encountering issues with your tape-in extensions is not uncommon, but with the right approach, they can be easily managed. Remember, maintaining open communication with your stylist and addressing concerns early can prevent minor issues from becoming major problems. With these troubleshooting tips, you can enjoy the beauty and confidence your tape-in extensions bring for as long as possible.
Removal and Reapplication of Tape-In Hair Extensions
The journey with your tape-in hair extensions will eventually lead to their removal and, if you choose, reapplication. This phase is as critical as the initial application, requiring careful attention to preserve the health of your natural hair and the integrity of the extensions for future use. I’m Sam Conan, here to guide you through the proper steps for removing and reapplying your tape-in extensions, ensuring the process is smooth and your hair remains in optimal condition.
How to Safely Remove Tape-In Extensions
-
Use the right product: Start by applying a professional-grade tape-in extension remover. This solution is designed to weaken the adhesive, making the removal process gentle on your hair and the extensions.
-
Apply remover and wait: Spray or dab the remover onto the tape bond, making sure it’s fully saturated. Let it sit for the recommended amount of time indicated on the product instructions.
-
Gently peel apart: After the solution has had time to work, gently peel the extensions away from your natural hair. If resistance is felt, apply more remover and wait a few more minutes before trying again.
-
Comb out residue: Once the extensions are removed, use a fine-tooth comb to gently remove any adhesive residue from your hair.
-
Wash and condition: After all extensions and residue are removed, wash your hair with a clarifying shampoo followed by a nourishing conditioner to remove any remaining remover solution and to hydrate your hair.
Preparing Extensions for Reuse
-
Clean the extensions: Remove any adhesive residue from the extensions using the remover solution. Carefully comb out any tangles.
-
Wash and condition: Gently wash the extensions with a mild shampoo and condition them, especially if they’re made of real hair. Allow them to air dry completely.
-
Apply new tape: Once dry, apply new double-sided tape to the extensions. Ensure the tape is applied evenly and securely for the best hold upon reapplication.
Reapplication Tips for Longevity
-
Assess your natural hair’s health: Before reapplying, make sure your natural hair is in good condition. Trim any split ends and address any scalp issues to ensure a healthy foundation for the extensions.
-
Change up the placement: Avoid applying the extensions in exactly the same spots as before. This helps prevent stress on any particular section of your scalp or hair follicles.
-
Professional touch: If possible, have a professional stylist perform the reapplication. They can ensure the extensions are applied evenly and in the most flattering way for your current hair condition and style.
-
Follow-up care: After reapplication, continue with the maintenance and care routines outlined previously to keep your extensions and natural hair looking their best.
The cycle of removal and reapplication offers a fresh start—not just for your extensions, but for your hair’s style and health. Whether you’re continuing with tape-ins for added length and volume or taking a break, proper removal and care are essential. Remember, the beauty of tape-in extensions lies not just in their ability to transform your appearance but also in the versatility and freedom they offer. Treat your hair and extensions with care, and they’ll keep you looking fabulous through many more cycles of wear.
Conclusion
As we wrap up this comprehensive guide to tape-in hair extensions, I hope you feel empowered and knowledgeable about embarking on this transformative journey. From the initial selection and preparation to the meticulous application, blending, styling, and the all-important maintenance and care, each step has been designed to ensure your experience with tape-in extensions is as rewarding and beautiful as possible. I'm Sam Conan, and it's been my pleasure to guide you through these stages, sharing insights and tips gleaned from years of professional experience.
Tape-in hair extensions offer a unique opportunity to redefine your look with volume, length, and style, while also embracing the versatility to express your individuality. Whether you're seeking a temporary change for a special occasion or a longer-term solution for enhancing your hair's appearance, tape-in extensions provide a reliable and aesthetically pleasing choice.
Remember, the journey doesn't end with the last piece of extension taped into place. The beauty of your extensions will be directly influenced by the care and attention you give them. Regular maintenance, gentle styling, and mindful care will ensure your extensions continue to look their best, blending seamlessly with your natural hair and maintaining their integrity for future use.
Should you encounter any challenges along the way, refer back to the troubleshooting section for guidance, or don't hesitate to reach out to a professional stylist. They can provide personalized advice and solutions tailored to your specific needs and circumstances.
In conclusion, the world of tape-in hair extensions is filled with potential for those willing to invest the time and care required. It's a journey of discovery, not just of the myriad styles and looks you can achieve but also of the confidence and joy that comes with feeling your best.
Thank you for joining me on this journey. Your path to stunning hair is clear, and I'm excited for you to experience the transformation that awaits. Here's to beginning your adventure with tape-in hair extensions — may it lead you to a place of beauty, confidence, and endless style possibilities.
FAQs: Tape-In Hair Extensions
As we conclude our comprehensive guide on tape-in hair extensions, it's important to address some frequently asked questions that might arise as you navigate through your hair extension journey. This section aims to provide clarity and additional insights to ensure you feel fully informed and confident in your hair extension endeavors.
How long do tape-in hair extensions last?
Tape-in extensions typically last between 4 to 8 weeks before they need to be removed, re-taped, and reapplied. The exact duration depends on your hair growth rate, the quality of the extensions, and how well you maintain them.
Can I wash my hair normally with tape-in extensions?
Yes, you can wash your hair as usual, but with some adjustments. Use a sulfate-free shampoo, and concentrate on cleaning your scalp by gently massaging it. Avoid applying conditioner near the roots or the tape bonds. It’s recommended to wash your hair 2-3 times a week to avoid loosening the tape.
Will tape-in extensions damage my hair?
When applied and maintained correctly, tape-in extensions should not damage your hair. It’s crucial to follow proper application and removal procedures, use the right products, and avoid putting undue stress on the tape areas to prevent damage.
Can I style my hair with heat tools?
Yes, you can use heat tools such as curling irons and straighteners on your tape-in extensions, especially if they're made of real hair. However, it's vital to apply a heat protectant spray beforehand and avoid excessive heat directly on the tape bonds to prevent them from loosening.
How do I choose the right color and texture?
Choosing the right color and texture is crucial for a natural look. Ideally, select extensions that closely match your natural hair. Many brands offer a variety of shades and textures. If you’re unsure, consult with a professional stylist who can help you find the perfect match.
Can I swim with tape-in extensions?
Swimming with tape-in extensions is possible, but it's advisable to take precautions. Salt water and chlorine can weaken the adhesive tape and dry out the extensions. It’s recommended to wear a swimming cap or tie your hair up to minimize exposure. Always rinse your hair with fresh water after swimming.
How do I know it’s time to remove or replace my extensions?
It’s time to remove or replace your extensions when you notice significant growth at the roots, causing the extensions to hang lower than intended. Additionally, if the extensions start to look worn out, dry, or tangled despite proper care, they may need to be replaced.
Can tape-in extensions be reused?
Yes, tape-in extensions can often be reused if they're still in good condition after removal. The extensions need to be cleaned, and new tape must be applied before reapplication. The reuse potential largely depends on the quality of the extensions and how well they were maintained.
How much do tape-in extensions cost?
The cost of tape-in extensions can vary widely based on the quality of the hair, the brand, and the amount of hair you're applying. Generally, prices can range from a few hundred to over a thousand dollars, including professional application.
Do tape-in extensions require professional application?
While it's possible to apply tape-in extensions yourself, professional application is recommended, especially for first-timers. A professional stylist can ensure the extensions are applied evenly and blend seamlessly with your natural hair, minimizing the risk of damage and maximizing the extension's lifespan.
These FAQs cover just a snippet of the vast world of tape-in hair extensions. As you embark on this exciting journey, remember that your confidence, comfort, and the health of your natural hair are paramount. Armed with the knowledge from this guide and ongoing support from hair care professionals, you're well on your way to enjoying the transformative beauty of tape-in hair extensions.
CEO
Sam Conan is a prominent figure in the beauty and fashion industry, known for his role as the CEO of a leading hair extension and wig company. With a background that combines expertise in business management, fashion, and cosmetology, Conan has carved out a niche for his company in the competitive beauty market. Under his leadership, the company has gained recognition for its innovative products, commitment to quality, and ethical sourcing practices.
Conan's journey to the top of the hair extension and wig industry began with a passion for fashion and beauty, combined with a keen business sense. He pursued higher education in business administration, with a focus on entrepreneurship, which provided him with the skills needed to navigate the complexities of starting and running a successful business. After completing his studies, Conan identified a gap in the market for high-quality, ethically sourced hair products and set out to fill it.
His company, launched in the early 2010s, quickly gained a reputation for its luxurious hair extensions and wigs that cater to a diverse clientele, including celebrities, stylists, and everyday consumers looking for premium hair solutions. Conan's commitment to sustainability and ethical business practices has also been a key factor in the company's success, setting it apart in an industry often criticized for its environmental and ethical issues.
Under Conan's guidance, the company has expanded its reach globally, establishing a strong online presence and distribution network that spans several countries. He has also spearheaded partnerships with renowned stylists and influencers, further solidifying the brand's status in the beauty industry.
Sam Conan's success story is a testament to the power of combining passion with expertise and ethical business practices. His vision for a more sustainable and inclusive beauty industry continues to drive the company's growth and innovation, making it a leader in the hair extension and wig market.
Related Posts